Friday 29 November 2013

paper stencils and photo stencils on pebbles prints

The next steps of my pebble prints...


I printed large shapes with a paper stencil (cut out of newsprint with a craft knife) and smaller designs which I'd exposed on a screen coated with photo emulsion (the blue screen above), on top of the textured background I created previously using dyes on an open screen.


Making hand cut paper stencils, and choosing where to position the exposed designs by moving the screen around and blocking off the parts I didn't want to print allowed some spontaneity in the printing process.  I enjoyed not planning the design of the whole picture in advance.

Friday 25 October 2013

monoprint with dyes on an open screen

I made this mono-screenprint recently on a course I'm taking about creative textiles.  I laid out some string and flour on a piece of paper and placed a blank screen on top, then spread turquoise Procion P dye over the screen with a squeegee, pressing down hard over the textured objects.  Then I painted some yellow dye over the top of this with a pipette.  I then left the whole thing to dry and after it was dry, removed the paper and string (which was now stuck to the screen with the dried-on dye - I had to pull the paper and string off) and printed it onto calico by pulling Manutex paste through the screen with a squeegee...


It made some interesting textures where the traces of string, flour and stuck-on paper interacted with the dye.  I printed it six times (on six different pieces of fabric) before the dye on the screen started to fade too much to make a good image.

I'm planning to use this as a background for an art print I have in mind, and so I'll screenprint over the top of this next with stencils and pigment fabric inks (not dye).

Thursday 10 October 2013

kitchen table prints logo

I've made a new logo for this blog.  I cut the design out of lino then printed it and scanned the handmade print into the computer. If there's anybody out there, please let me know what you think!


New logo:


Old blog photo:


Saturday 28 September 2013

potato prints!

Here are some colourful potato prints on cotton fabric, made by students on a fabric printing course I started teaching last week:


Thursday 19 September 2013

Imprint exhibition

I went to the private view of Imprint - an exhibition of printed design, at Craft Central in Clerkenwell.


I was invited by my friend Katherina Manolessou, an artist and illustrator who makes screenprinted artwork.  Here's Katherina at the private view:


Katherina's screenprints are witty and full of fantastic creatures.  They're great!


I also liked some printed textiles by Kate Clarke in the Imprint exhibition.  I saw bright screenprinted pouches featuring blown-up fruit and flower designs.

Imprint exhibition continues until 21st September.

Monday 9 September 2013

Marimekko pear tea towels

I saw these great pear tea towels by Marimekko today, for sale in Heals:


I love the simplicity of the design.


I've been a fan of Marimekko before I saw these images. Marimekko is a design company from Finland who hand-screenprinted all their textiles during the 1960s.  Perhaps their most well-known design is this one, called Unikko, designed by Maija Isola:


One thing I love about Marimekko designs is that although they are now a global textile and interior design company, their designs are brilliantly simple and look like they could be printed at home by hand - those pear designs could be printed with a stencil or screenprinted with a couple of paper stencils. And I mean that as a compliment - as I say, I love the simplicity of these designs.

Saturday 31 August 2013

pouch with lining and zip tutorial


I printed some fabric with my berries lino blocks and made 3 pouches with zips using the fabric. Here's how to make the pouch...


First cut out the pieces - 2 pieces for the outer fabric and 2 for the lining. I drew around a pattern that is 15cm tall and 20cm wide at the base (15cm wide at the top),(about 6 x 8 inches).  You can save and print and use this template I have drawn:


Then lay: a)the outer fabric right side up, b)a zip across the top edge of the pouch facing down and c)the lining material, right side down, on top of the zip.  Pin together.


Put a zipper foot on your sewing machine and stitch the fabric and zip together.


Turn the stack upside down and repeat sewing the zip to a fabric and lining sandwich on the other side.  Open the fabric out from the zip and iron it away from the centre.


Then put the normal foot back on the sewing machine and top stitch either side of the zip - this holds the fabric back from getting caught in the zip.


Next - this is important!  Unzip the zip halfway (or you won't be able to turn your bag the right way out later on).


Then pull the outer pieces together (right sides together) and pin them, and the lining pieces together and pin them.

Sew around the whole pouch, leaving a gap about 3 inches wide at the bottom of the lining.  When you come to the zip, just sew over it, ensuring that the zip is pressed down flat in one direction (towards the lining or towards the outer fabric) and the fabric is lined up underneath (without one side pulled higher than the other).


Trim the corners off the pouch and lining material - this makes it less bulky after you turn the bag out.


Turn the pouch right-side out, through the gap in the bottom of the lining.  Check the pouch looks sewn correctly from the outside, then when you're happy with it sew up the gap in the lining by pinching the fabric together and top stitching along the gap (the stitching will be visible, but inside the pouch).


And that's it!  After writing that I feel like it's more complicated to explain than to make!  Try it and you'll get the hang of it after a few times.  Happy crafting!


Friday 23 August 2013

lena corwin

One of the most inspirational and useful books I've read about handmade printmaking is "Printing by Hand" by Lena Corwin.


It's got very clear instructions and photos of stamping, stencilling and screen printing - all of which you can do without specialist equipment, following her instructions.  And lovely projects to demonstrate their use.

The book is from the US, so some of the materials are not as commonly found here in the UK - acrylic mounts to stick cut-out pieces of foam on to make a printing stamp, for example.  But it's still a really useful guide, and I have got people to mount cut-out foam on cardboard and brush on pva glue to make it more waterproof in some classes I've taught.

I just looked at her website again recently, and was excited to see that she will have a new book out in October called "Made by Hand" which promises "A collection of Projects to Print, Sew, Weave, Dye, Knit or Otherwise Create."  - That sounds great, I love trying out new projects and frequently do, as I teach community arts and crafts classes - not just about printmaking, but using various crafts, so I'm often looking for new ideas for my classes.

Anyway - I recommend her printmaking book to anyone starting out or developing their print projects at home.

Sunday 14 July 2013

spider t-shirt

I printed this t-shirt as a gift for my husband for our wedding anniversary!


I drew my design onto the screen and painted it with screen drawing fluid then squeegee'd screen filler over the dried drawing fluid.  Left that to dry then washed out the drawing fluid, creating the stencil.


I practised printing it on a scrap piece of fabric, then printed it onto a t-shirt.  I used dark brown pigment and opaque binder, from Quality Colours (I mixed a bit of red, yellow and white pigment in too, to alter the brown colour a bit).  I put a piece of newspaper inside the t-shirt so the ink didn't go through to the back.


Saturday 15 June 2013

yellow lichen print

I've been making a textile print called 'Yellow Lichen' for an exhibition with East London Printmakers at the end of this month.

The inspiration for this print came from a trip to the isle of Arran last year.  Here are some photos...


I made drawings of lichen, then I drew my lichen images onto two screens and filled in the drawn outlines, painting by hand with screen drawing fluid.  I let the drawing fluid dry then coated the screens with screen filler...


 After the screen filler was dry, I washed out the drawing fluid with a hose, and that created the stencil for my prints.


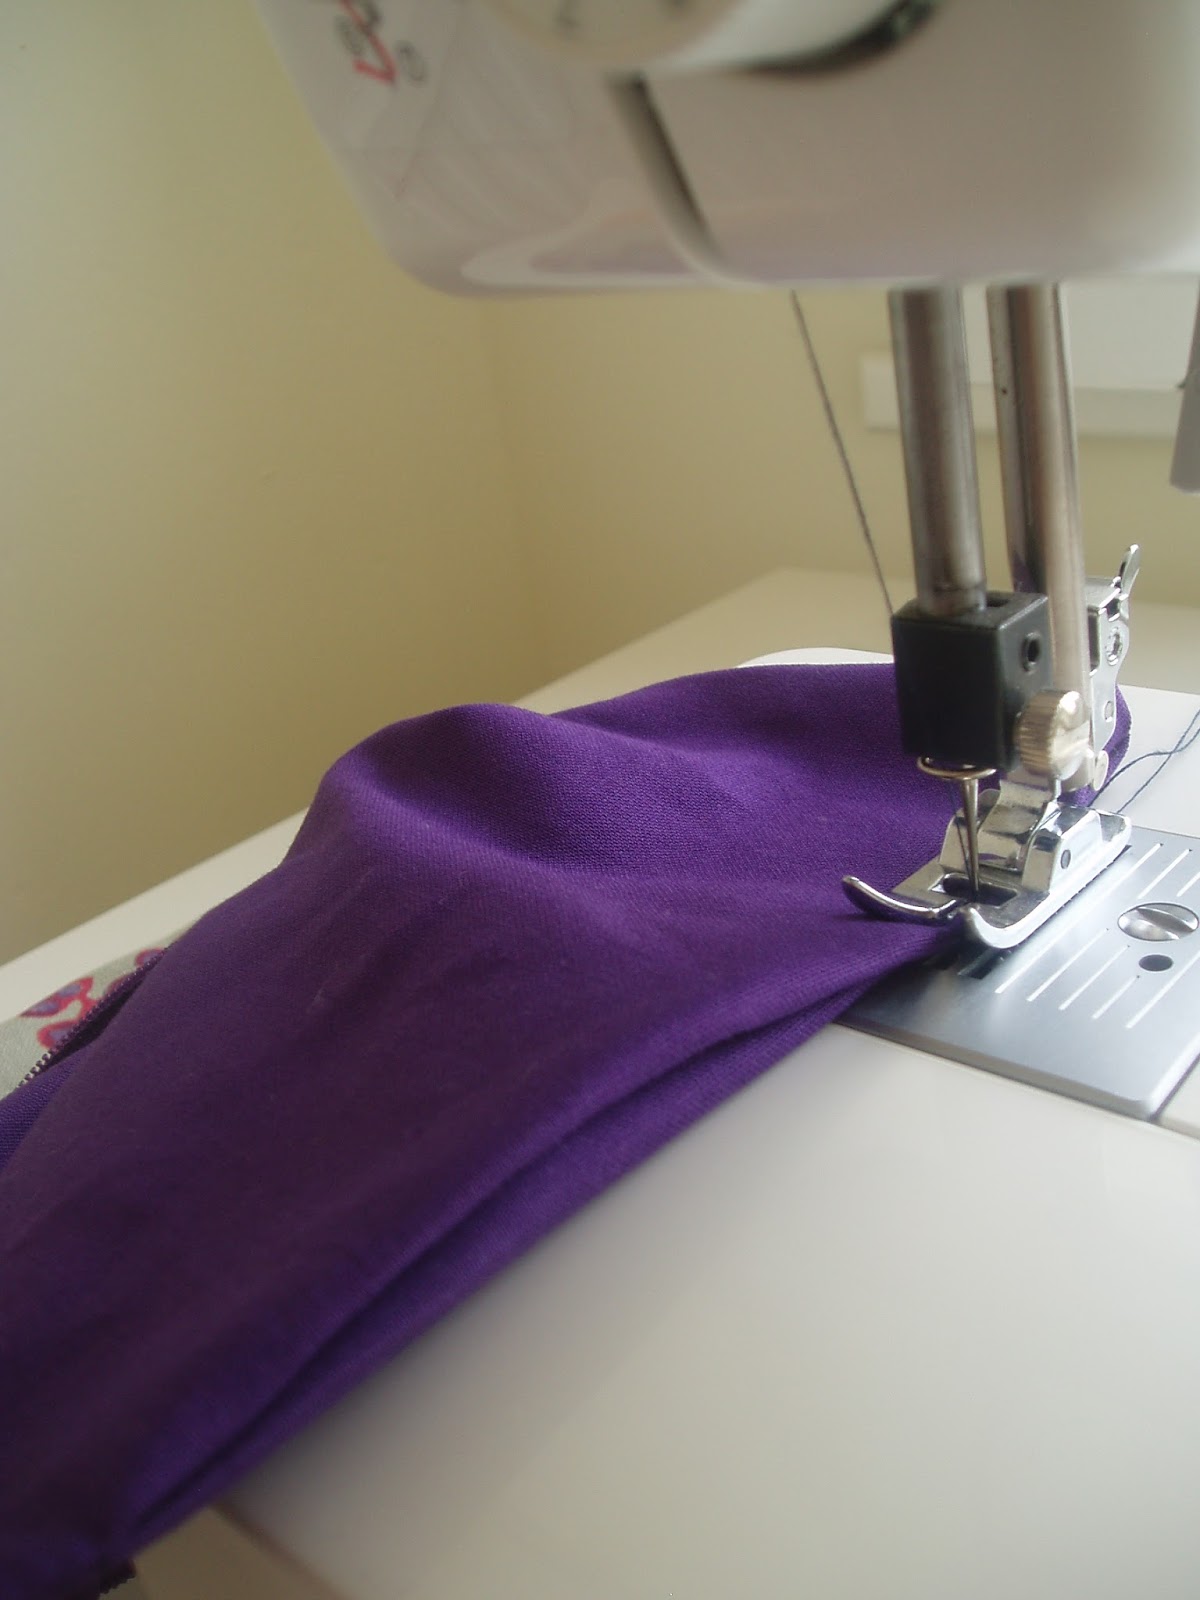
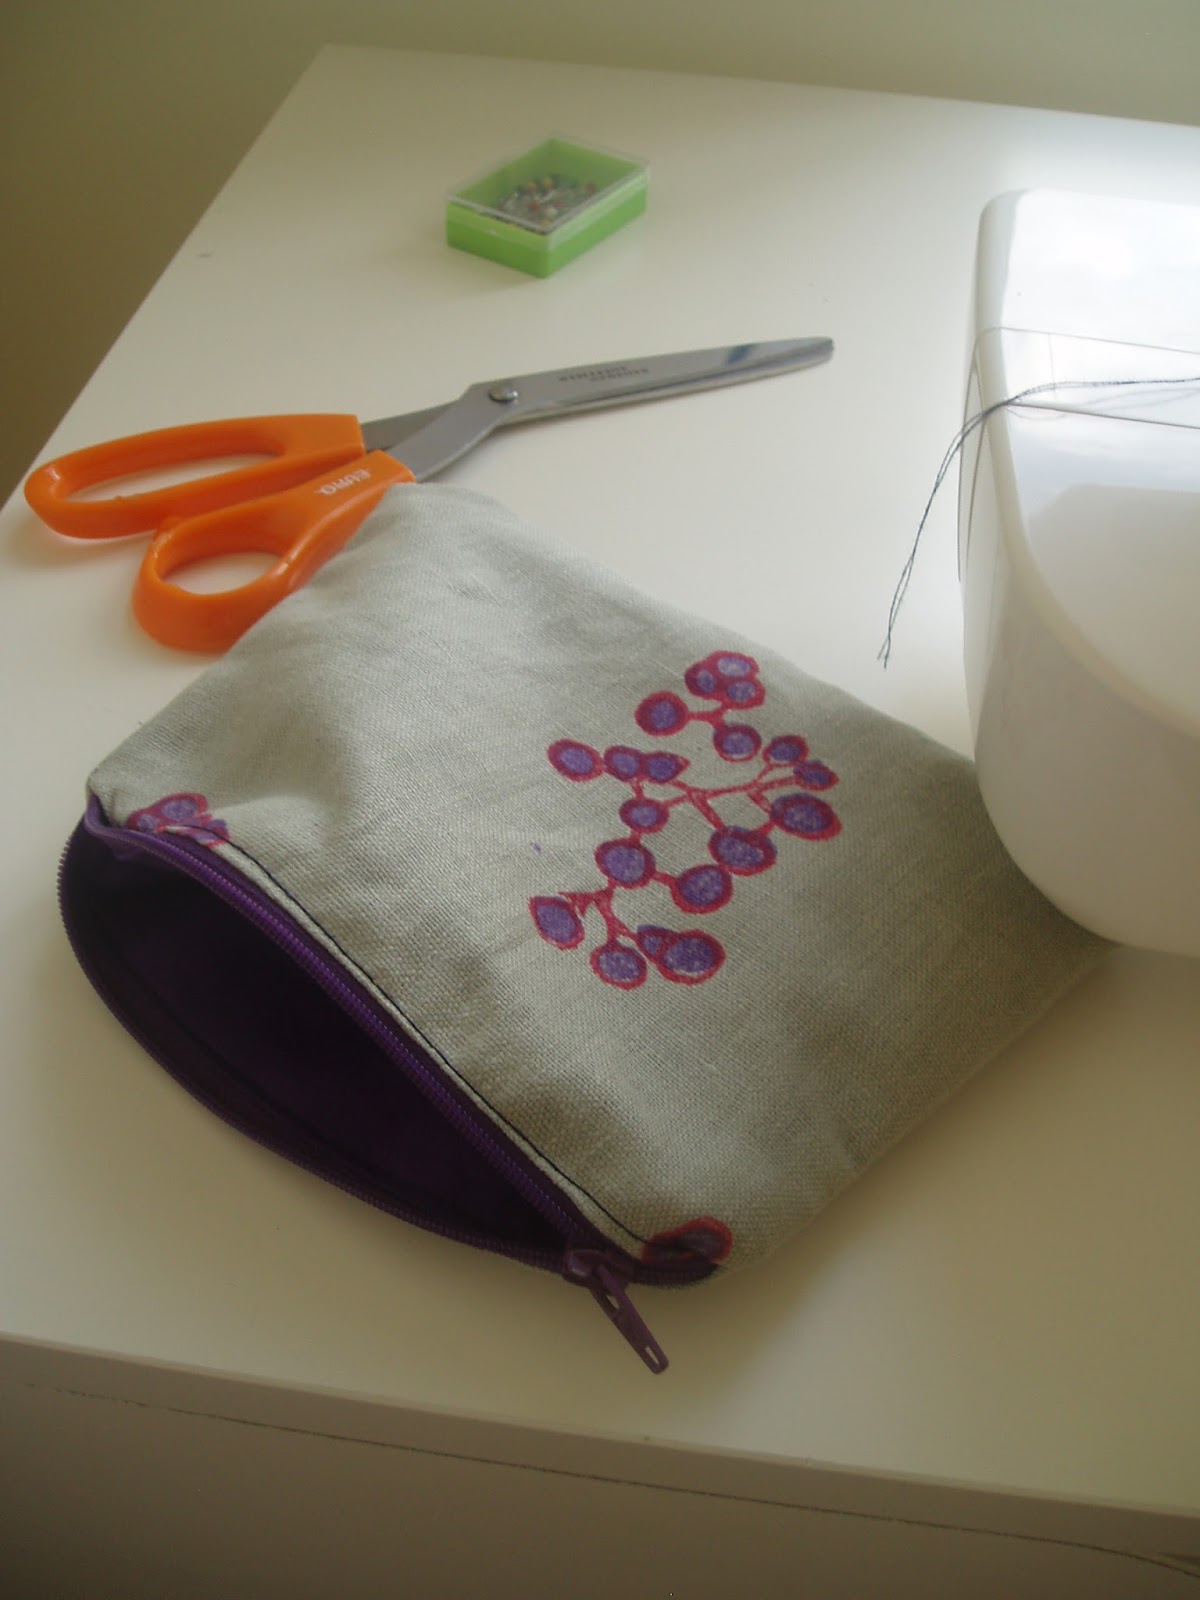
 After some test prints, I began printing my design on some heavy grey linen I had bought for this project.  You can see from the photos that the "kitchen table" aspect of this printing is quite difficult with a large length of cloth.  Apart from showing this print in an upcoming show by East London Printmakers' members, I want to use it for curtains in our living room, but I have to print quite small areas at one time on our dining table, so that I don't ruin the print by a wet area of print touching another part of the cloth.


 The East London Printmakers' group exhibition, 'Going Underground', will be on show in the Shoreditch Town Hall basement from 28th June.