Banana and walnut cake (nearly all eaten in this photo!)...
Showing posts with label sewing. Show all posts
Sunday, 14 September 2014
some things I made this week
Friday, 5 September 2014
block print tunic
I made a tunic dress/top at the weekend, with the help of my mother-in-law. I used some nice Indian block printed fabric that I bought a while ago at a great shop on Broadway Market called Our Patterned Hand. I checked their website and found that sadly they have since closed down.
I wanted to copy a tunic top that I already have, so drew around the outside of the existing tunic and made a copy out of an old bed sheet, to check that it would turn out alright. It looked ok, so we didn't bother to sew up the practice fabric, but traced it straight onto the block printed fabric that I wanted to use, and cut out the pieces.
We had to measure and guess a bit with the sleeves, as I didn't want to unpick the tunic I already have.
After a bit of sewing (and a lot of help with this from my mother-in-law), here is the finished tunic:
I'm really happy with the outcome as I like to wear long tops over jeans, and would like to make some more of these, perhaps out of fabric that I block print myself.
I wanted to copy a tunic top that I already have, so drew around the outside of the existing tunic and made a copy out of an old bed sheet, to check that it would turn out alright. It looked ok, so we didn't bother to sew up the practice fabric, but traced it straight onto the block printed fabric that I wanted to use, and cut out the pieces.
We had to measure and guess a bit with the sleeves, as I didn't want to unpick the tunic I already have.
After a bit of sewing (and a lot of help with this from my mother-in-law), here is the finished tunic:
I'm really happy with the outcome as I like to wear long tops over jeans, and would like to make some more of these, perhaps out of fabric that I block print myself.
Saturday, 14 June 2014
lichen curtains
I finally finished making the lichen fabric that I printed last year into curtains...
I deliberated over making them into curtains, as I'd started the print on grey linen but hadn't realised the linen was a remnant at the fabric shop where I bought it, and they didn't have enough left when I returned for me to make curtains.
However when we got a sofa that was more black than grey I decided the the print I had done on a second, darker fabric I had bought (denim) matched the new sofa well, so used it after all.
My mother-in-law did a lot of the sewing for me, as I'd never made lined curtains before, and she measured and attached the lining. It then took me a while to get around to finishing them by hemming the curtains and lining, and attaching the curtain tape. But it wasn't too difficult in the end (just big, when you're used to only sewing small things like pouches and bags).
They're not perfect (my part of the sewing anyway! my mother-in-law's sewing together of the lining and curtain material was great), but now they're up in our living room and it's nice to see my print in use as curtains, similar to how I envisaged it.
So, in conclusion - if you print onto fabric, I'd recommend you to make your own curtains out of printed fabric, and I found a useful video on youtube which helped me to finish sewing them.
I deliberated over making them into curtains, as I'd started the print on grey linen but hadn't realised the linen was a remnant at the fabric shop where I bought it, and they didn't have enough left when I returned for me to make curtains.
However when we got a sofa that was more black than grey I decided the the print I had done on a second, darker fabric I had bought (denim) matched the new sofa well, so used it after all.
My mother-in-law did a lot of the sewing for me, as I'd never made lined curtains before, and she measured and attached the lining. It then took me a while to get around to finishing them by hemming the curtains and lining, and attaching the curtain tape. But it wasn't too difficult in the end (just big, when you're used to only sewing small things like pouches and bags).
They're not perfect (my part of the sewing anyway! my mother-in-law's sewing together of the lining and curtain material was great), but now they're up in our living room and it's nice to see my print in use as curtains, similar to how I envisaged it.
So, in conclusion - if you print onto fabric, I'd recommend you to make your own curtains out of printed fabric, and I found a useful video on youtube which helped me to finish sewing them.
Saturday, 31 August 2013
pouch with lining and zip tutorial
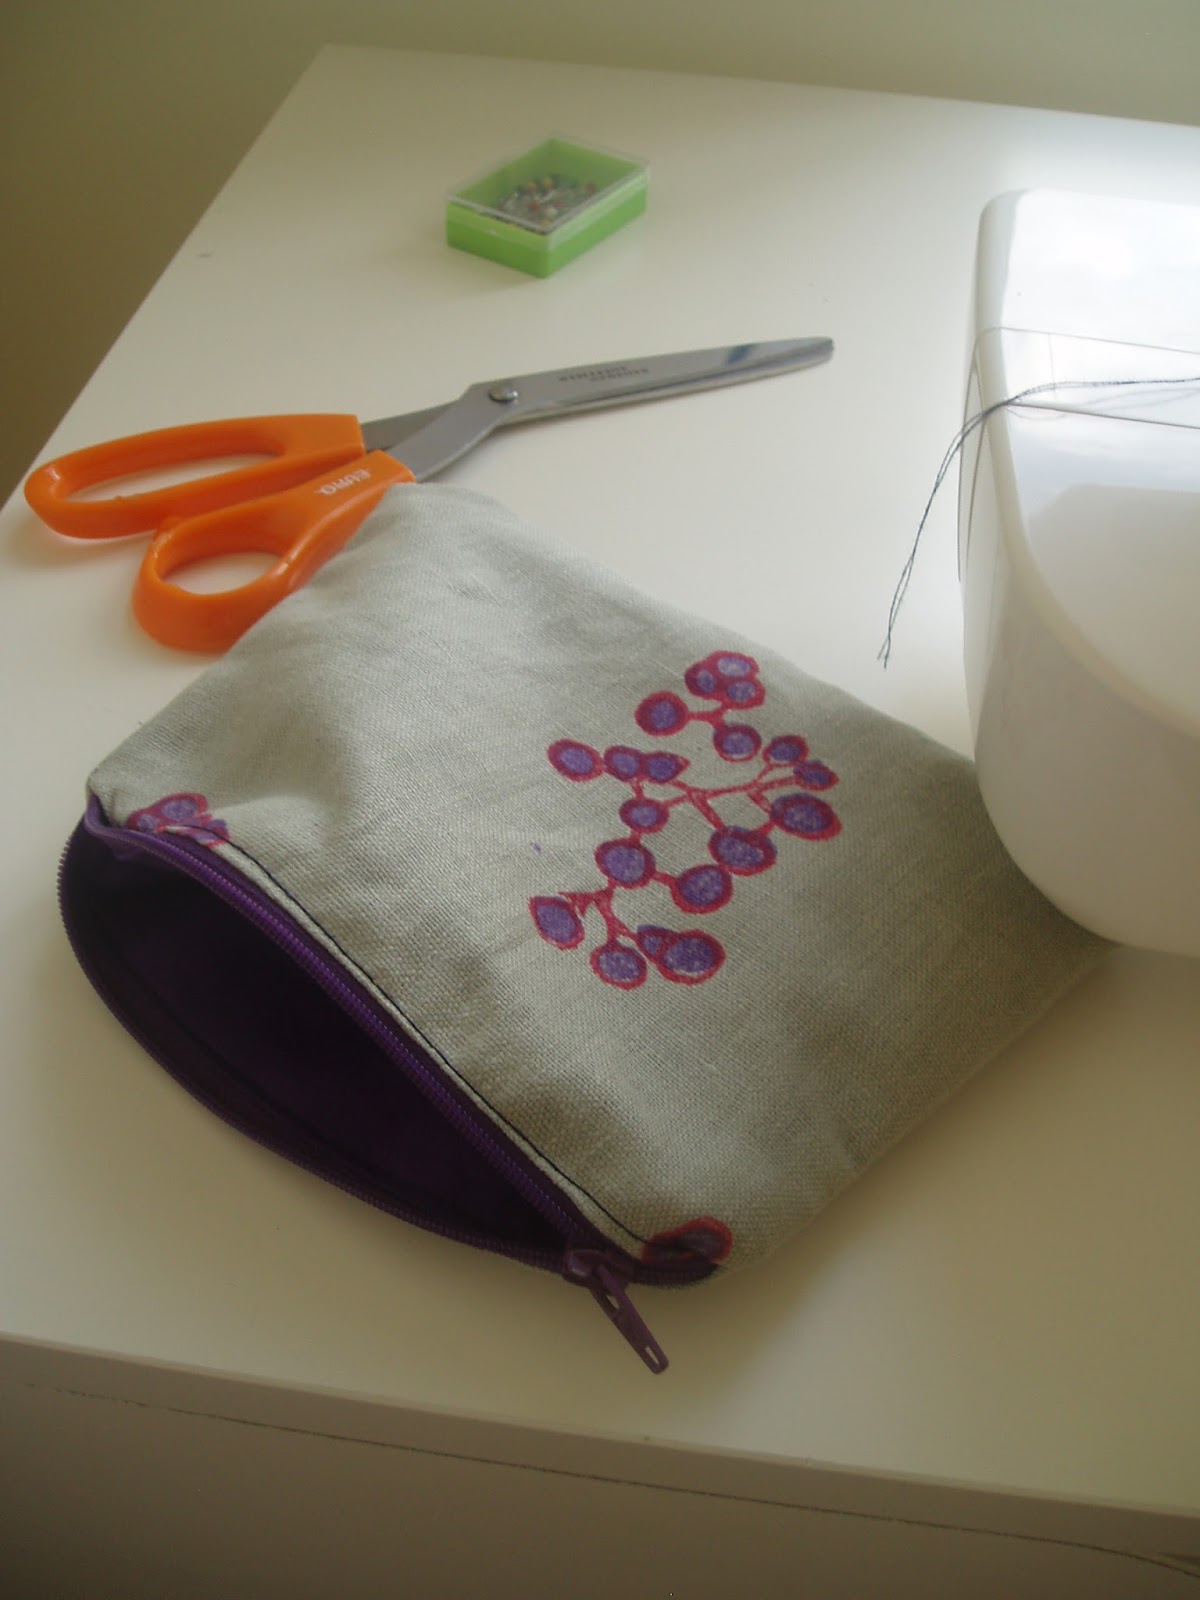
I printed some fabric with my berries lino blocks and made 3 pouches with zips using the fabric. Here's how to make the pouch...
First cut out the pieces - 2 pieces for the outer fabric and 2 for the lining. I drew around a pattern that is 15cm tall and 20cm wide at the base (15cm wide at the top),(about 6 x 8 inches). You can save and print and use this template I have drawn:
Then lay: a)the outer fabric right side up, b)a zip across the top edge of the pouch facing down and c)the lining material, right side down, on top of the zip. Pin together.
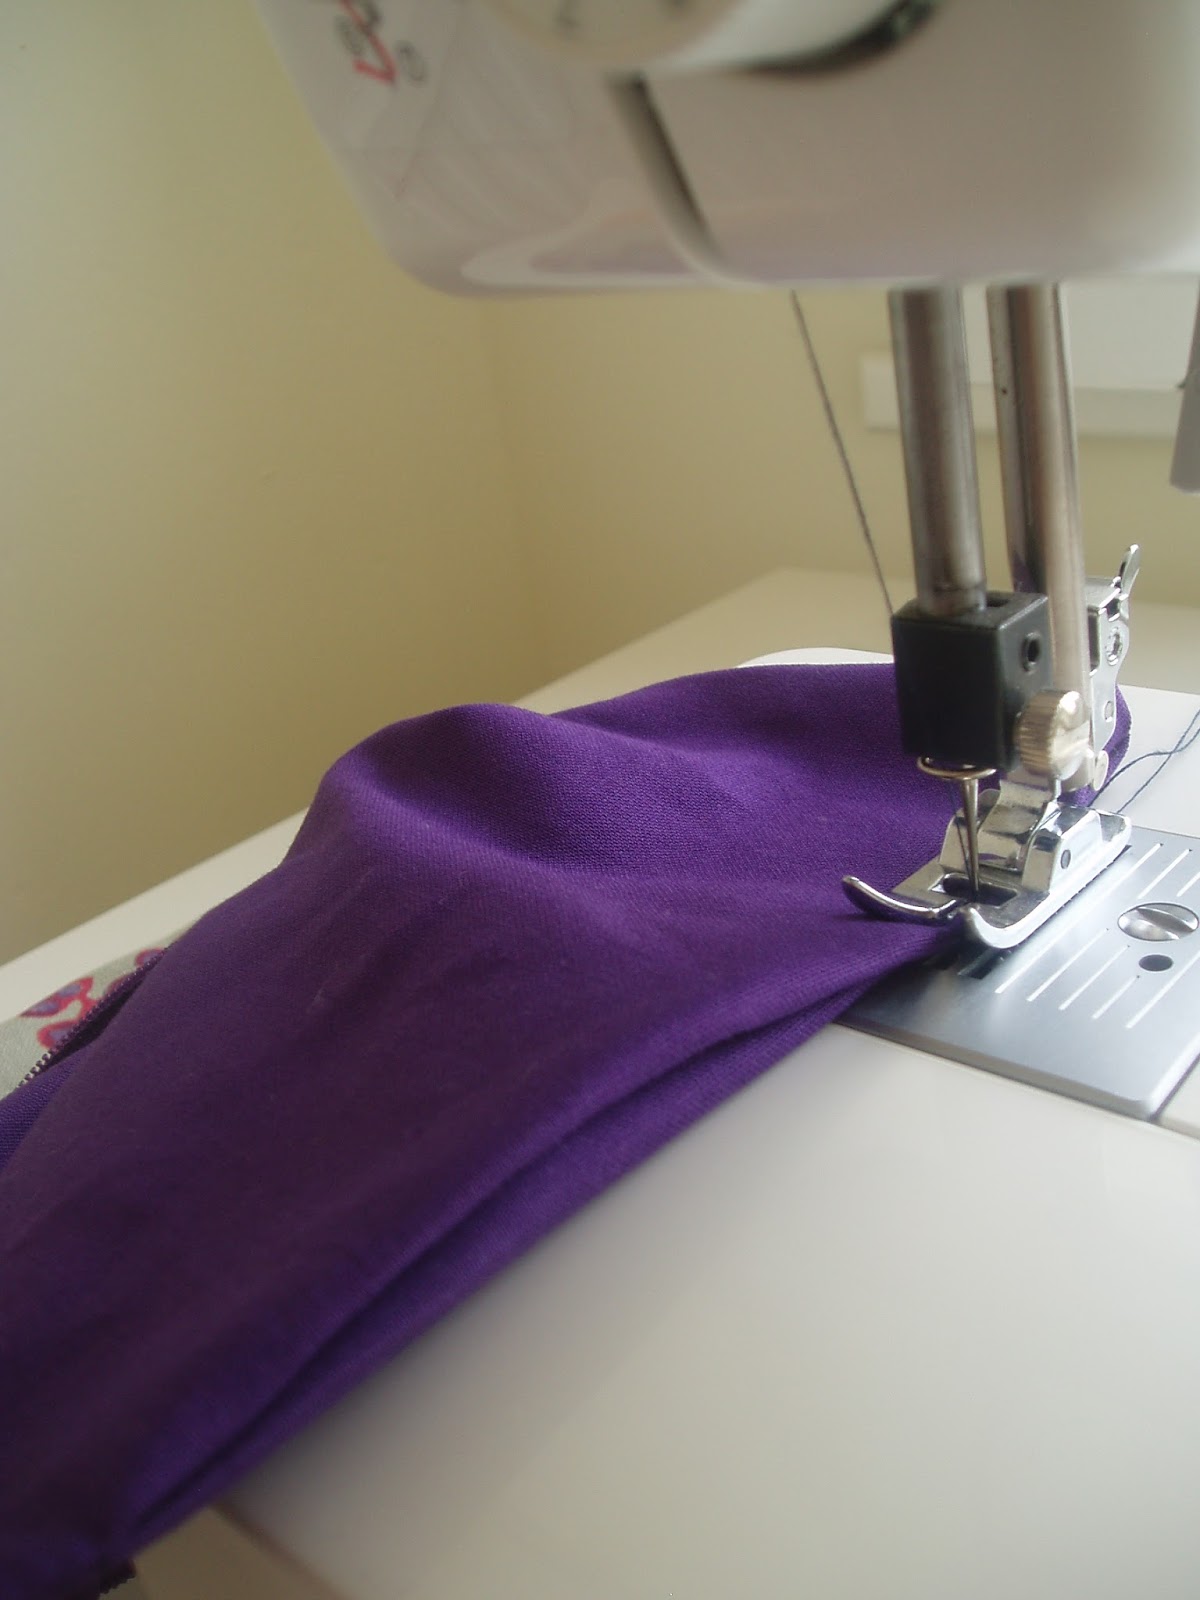
Put a zipper foot on your sewing machine and stitch the fabric and zip together.
Turn the stack upside down and repeat sewing the zip to a fabric and lining sandwich on the other side. Open the fabric out from the zip and iron it away from the centre.
Then pull the outer pieces together (right sides together) and pin them, and the lining pieces together and pin them.
Sew around the whole pouch, leaving a gap about 3 inches wide at the bottom of the lining. When you come to the zip, just sew over it, ensuring that the zip is pressed down flat in one direction (towards the lining or towards the outer fabric) and the fabric is lined up underneath (without one side pulled higher than the other).
Trim the corners off the pouch and lining material - this makes it less bulky after you turn the bag out.
Turn the pouch right-side out, through the gap in the bottom of the lining. Check the pouch looks sewn correctly from the outside, then when you're happy with it sew up the gap in the lining by pinching the fabric together and top stitching along the gap (the stitching will be visible, but inside the pouch).
Friday, 17 February 2012
doorstop and Lotta Jansdotter
I made this doorstop following a pattern in Lotta Jansdotter's book "Simple Sewing". I didn't print the fabric, it's an African fabric I bought in Dalston Market.
I like Lotta Jansdotter's work and have 3 books of craft projects by her. She makes printed textiles, and you can see a good demo of handmade printing, "Stencils and Yams", by her with Etsy on youtube: http://www.youtube.com/watch?v=Pnu0AsoPJb0
I like the simplicity of Lotta Jansdotter's prints and her sewing projects are also easy to follow. It didn't take long to make this doorstop, which is just what I needed in our new house, and is made up like a saggy box - 4 sides, a bottom and a top with a handle, all stitched together, and I filled it with rice for the weight.
You can see Lotta's work on her website, and she also has a blog which you can go to from the link on her website: http://www.jansdotter.com/
Subscribe to:
Posts (Atom)