Showing posts with label tutorial. Show all posts

Friday, 21 February 2014

how to make a stencil on a small screen using drawing fluid

I prepared a small screen for printing, using an embroidery hoop, some screen mesh, drawing fluid and screen filler...

First I cut out a square of screen mesh (you can buy this from George Weil, or just use net curtain fabric) and put it over the inner hoop of an embroidery hoop:


Then I trimmed the screen mesh and put the 'screen' face down over an image I wanted to trace, and traced it onto the screen mesh with a pencil (the pencil doesn't show very well in this photo, but I could see it well enough to paint over the lines).


Next I painted over the pencil lines using screen drawing fluid (the blue-coloured liquid in these photos, made by Speedball), left the drawing fluid to dry, then spread some screen filler (also by Speedball, you can get it online) over the screen using a plastic card.


The front of the screen (where I spread the screen filler) will now have some filler over the blue drawing fluid image, but if you check the back (inside) of the screen, you should still be able to see your drawing fluid painted image clearly, without too much screen filler blobbing over the edges of your image.  As long as you can see your image from the back of the screen, it should wash out ok...


I left the screen filler to dry (you can speed up the process with a hairdryer) then held the screen up to the light, to check if there were any holes in the screen filler, and painted over these with some screen filler and a small paintbrush.


When all the screen filler was dry, I just washed out the drawing fluid under the tap.  You can use a fingernail or toothbrush to pick off any bits of screen filler that are blocking your stencil, then hold the screen up to the light to check that your drawing fluid image has washed out...


Your embroidery hoop screen is now ready for printing!

Friday, 3 January 2014

Christmas Cactus stencil print

I made a stencilled card for my Dad's birthday...

First I took a photo of a Christmas Cactus plant I have, then I printed the photo and traced the shapes of the leaves and flowers. I coloured in selected areas of the traced design:


Then I traced the areas that I would stencil in different colours, as separate layers, and cut them out of card with a craft knife:


Then I stencilled the design onto a blank card using a brush and acrylic paints:


I stencilled the 'soil' by cutting out that area and drawing in there with a black coloured pencil, as opposed to paint, to add some texture to the picture.

A Christmassy-New Year-Birthday print!

You can make a stencilled picture with your own design by following those steps.

Saturday, 31 August 2013

pouch with lining and zip tutorial


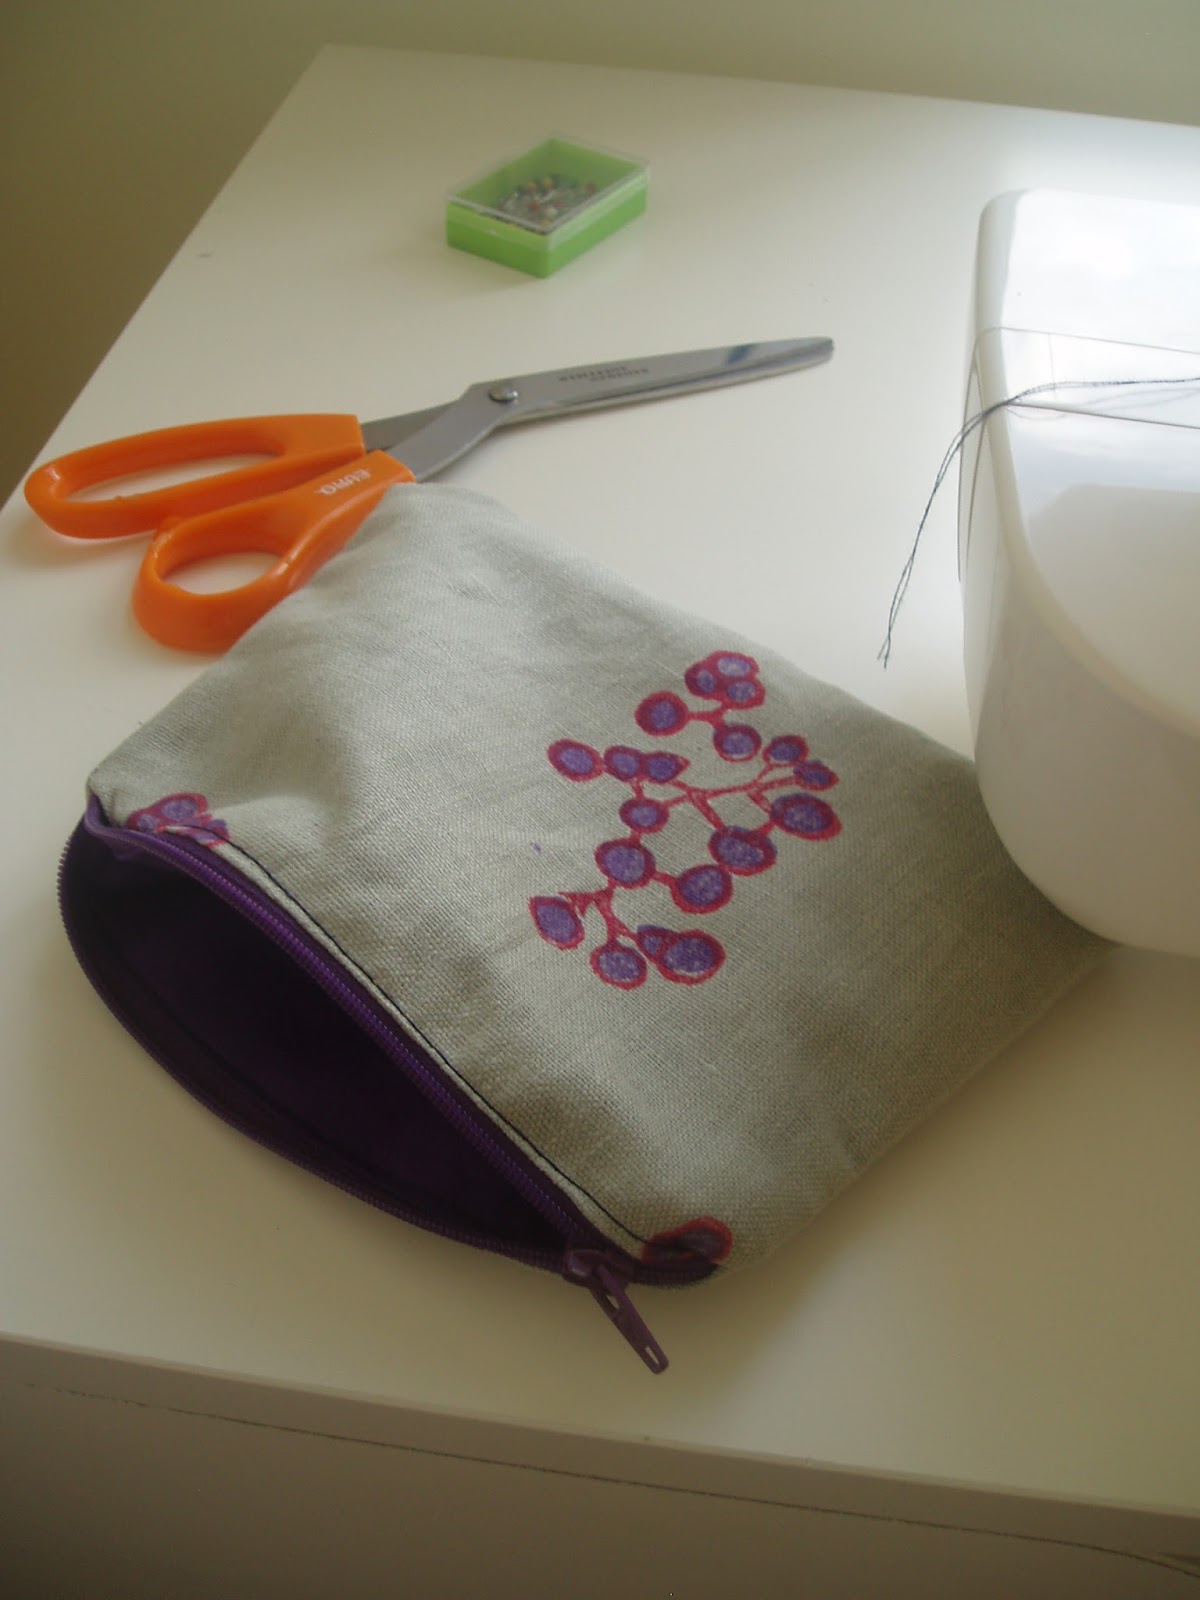
I printed some fabric with my berries lino blocks and made 3 pouches with zips using the fabric. Here's how to make the pouch...


First cut out the pieces - 2 pieces for the outer fabric and 2 for the lining. I drew around a pattern that is 15cm tall and 20cm wide at the base (15cm wide at the top),(about 6 x 8 inches).  You can save and print and use this template I have drawn:


Then lay: a)the outer fabric right side up, b)a zip across the top edge of the pouch facing down and c)the lining material, right side down, on top of the zip.  Pin together.


Put a zipper foot on your sewing machine and stitch the fabric and zip together.


Turn the stack upside down and repeat sewing the zip to a fabric and lining sandwich on the other side.  Open the fabric out from the zip and iron it away from the centre.


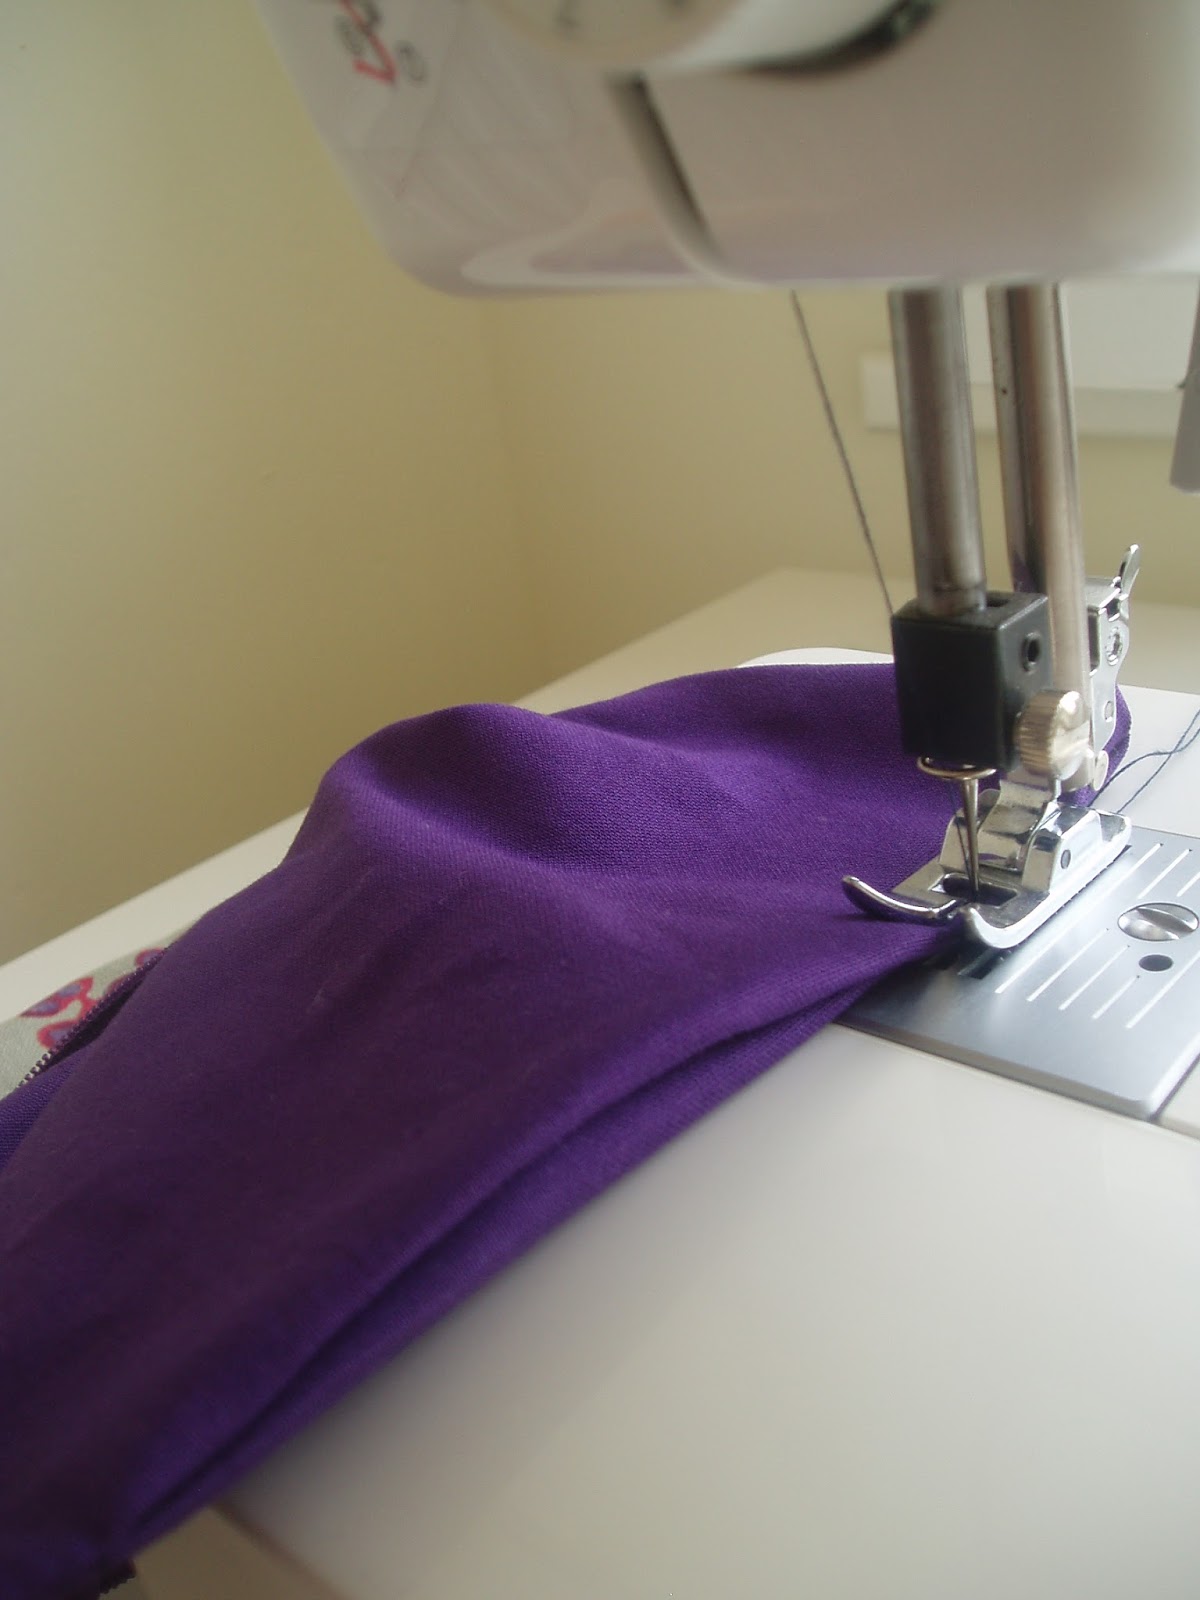
Then put the normal foot back on the sewing machine and top stitch either side of the zip - this holds the fabric back from getting caught in the zip.


Next - this is important!  Unzip the zip halfway (or you won't be able to turn your bag the right way out later on).


Then pull the outer pieces together (right sides together) and pin them, and the lining pieces together and pin them.

Sew around the whole pouch, leaving a gap about 3 inches wide at the bottom of the lining.  When you come to the zip, just sew over it, ensuring that the zip is pressed down flat in one direction (towards the lining or towards the outer fabric) and the fabric is lined up underneath (without one side pulled higher than the other).


Trim the corners off the pouch and lining material - this makes it less bulky after you turn the bag out.


Turn the pouch right-side out, through the gap in the bottom of the lining.  Check the pouch looks sewn correctly from the outside, then when you're happy with it sew up the gap in the lining by pinching the fabric together and top stitching along the gap (the stitching will be visible, but inside the pouch).


And that's it!  After writing that I feel like it's more complicated to explain than to make!  Try it and you'll get the hang of it after a few times.  Happy crafting!


Sunday, 28 October 2012

creating design on a screen using screen filler

A few weeks ago I prepared a design on a screen using screen filler as an example for a class I was teaching about screenprinting to a group of secondary school students.

The group had been studying textile designs from different cultures, so I took my pattern idea from a piece of African fabric.


I put the piece of paper under the screen and copied the design onto it with a pencil. Then I painted my design onto the outside of the screen (the flat side) using screen drawing fluid.


When the drawing fluid was dry, I spooned some screen filler onto the screen and swiped it across the whole screen (and over the drawing fluid) with a squeegee. Don't swipe the screen filler over too many times as you don't want to rub the drawing fluid away.


I waited for the screen filler to dry (overnight) then washed out the drawing fluid by spraying a hose from the inside of the screen (the back of the drawing fluid - and behind the screen filler, as the screen filler does not wash out with cold water).


Then I washed the front of the screen as well, to wash off any bits of screen filler that had come off in front of the drawing fluid, and that's it - when the screen dries, it's ready to print.  This is one way to screen print at home without needing expensive/bulky equipment (i.e. an exposure unit).


Monday, 17 September 2012

stencilled tote bag


I made a hand-stencilled tote bag yesterday, as a demo for my first Handmade Crafts class, which starts tomorrow evening in Forest Hill.  Here's how I made it...


I wanted to use the bag for carrying books, so I made some sketches about books and butterflies, which I used for the design.  I drew the butterfly/books on a piece of A4 card and cut out the shapes using a craft knife.  Then I sprayed a little glue on the back of the card and stuck it onto the blank bag.


I put some fabric paints out on a piece of acetate (a paper plate would be fine) and used pieces of sponge to stencil the design through the cut out shapes in the card.  It's better to dab the paint on gently and repeat the application, rather than blobbing lots of paint on, as the paint could get under the stencil and spoil your design.  When I had finished applying the different colours that I chose, I peeled the stencil off.


Then I sprayed some more glue onto the back of the stencil and stuck it onto the bag again, as I wanted to repeat some of the butterfly-books and fill in the bottom corners of the bag.  I got a bit of paint under the stencil by accident this time, but it can be fixed afterwards with a paintbrush.


When I'd finished (both sides) and the paint was dry, I ironed the bag on the reverse, to fix the fabric paint and make it washable.  Here's the finished bag again: