Monday, 9 September 2013

Marimekko pear tea towels

I saw these great pear tea towels by Marimekko today, for sale in Heals:


I love the simplicity of the design.


I've been a fan of Marimekko before I saw these images. Marimekko is a design company from Finland who hand-screenprinted all their textiles during the 1960s.  Perhaps their most well-known design is this one, called Unikko, designed by Maija Isola:


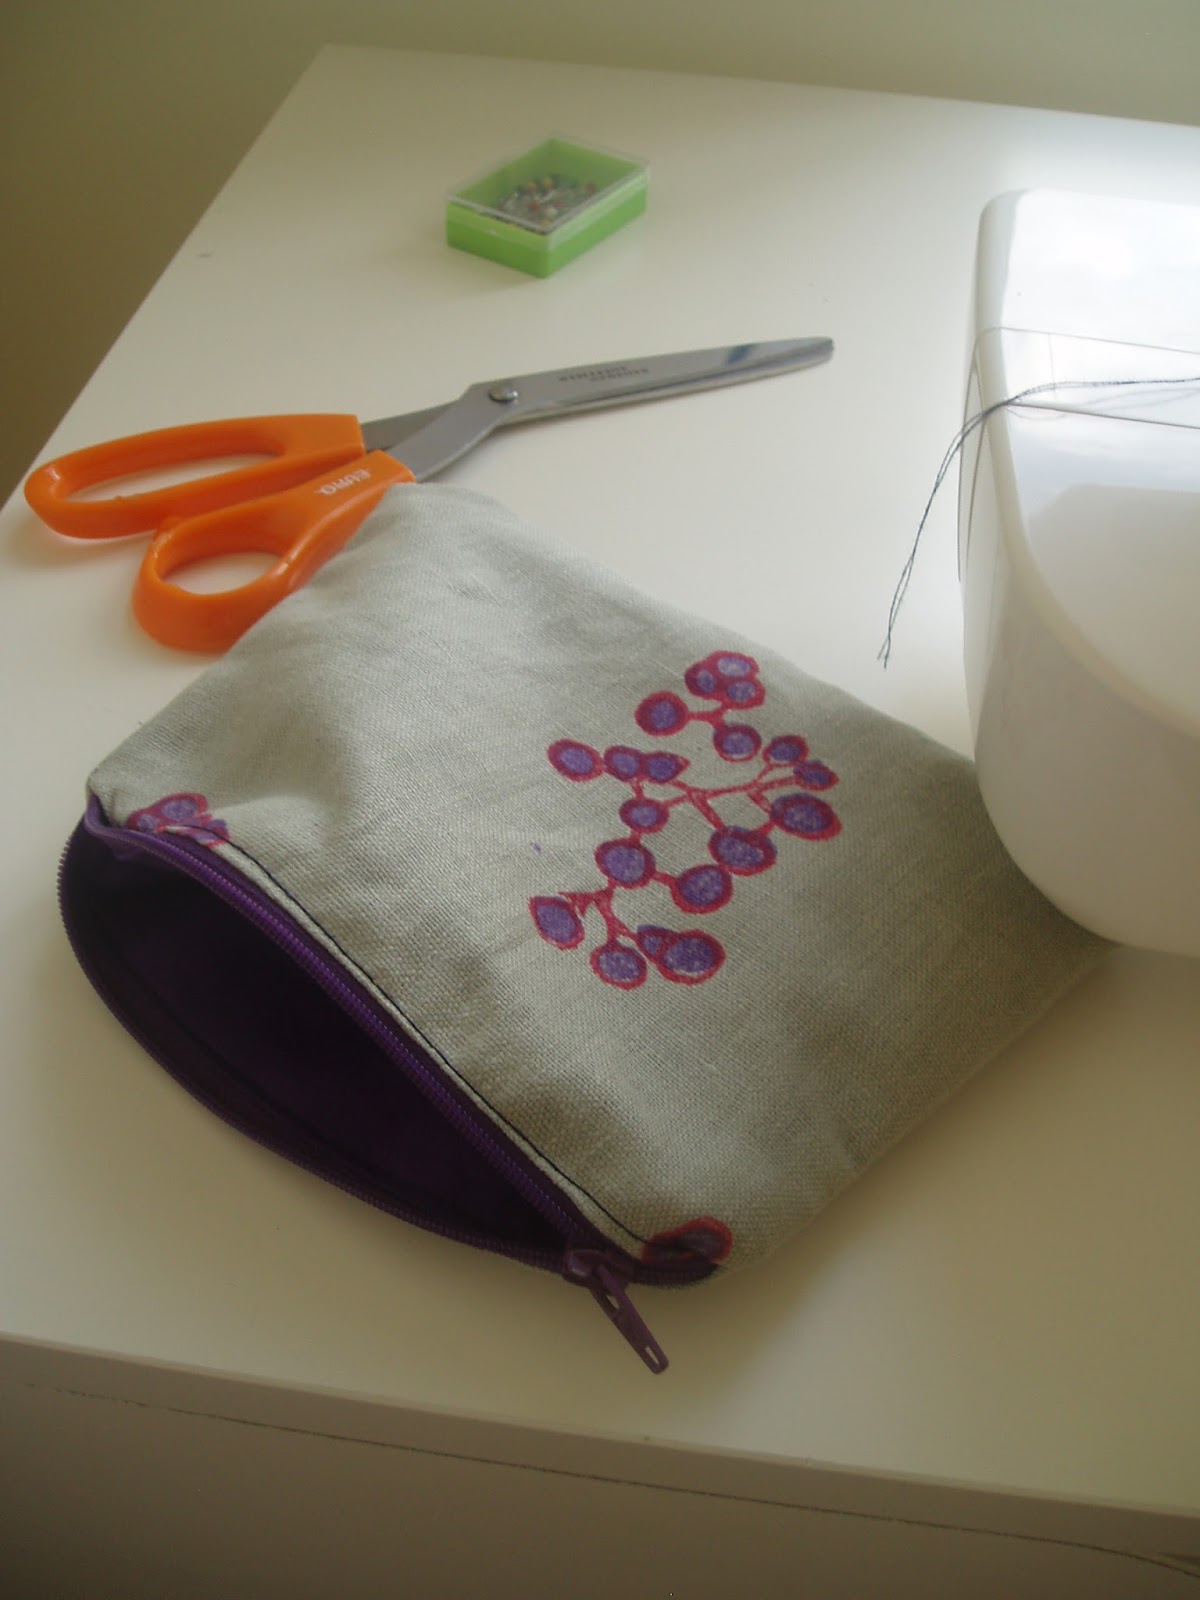
One thing I love about Marimekko designs is that although they are now a global textile and interior design company, their designs are brilliantly simple and look like they could be printed at home by hand - those pear designs could be printed with a stencil or screenprinted with a couple of paper stencils. And I mean that as a compliment - as I say, I love the simplicity of these designs.

Saturday, 31 August 2013

pouch with lining and zip tutorial


I printed some fabric with my berries lino blocks and made 3 pouches with zips using the fabric. Here's how to make the pouch...


First cut out the pieces - 2 pieces for the outer fabric and 2 for the lining. I drew around a pattern that is 15cm tall and 20cm wide at the base (15cm wide at the top),(about 6 x 8 inches).  You can save and print and use this template I have drawn:


Then lay: a)the outer fabric right side up, b)a zip across the top edge of the pouch facing down and c)the lining material, right side down, on top of the zip.  Pin together.


Put a zipper foot on your sewing machine and stitch the fabric and zip together.


Turn the stack upside down and repeat sewing the zip to a fabric and lining sandwich on the other side.  Open the fabric out from the zip and iron it away from the centre.


Then put the normal foot back on the sewing machine and top stitch either side of the zip - this holds the fabric back from getting caught in the zip.


Next - this is important!  Unzip the zip halfway (or you won't be able to turn your bag the right way out later on).


Then pull the outer pieces together (right sides together) and pin them, and the lining pieces together and pin them.

Sew around the whole pouch, leaving a gap about 3 inches wide at the bottom of the lining.  When you come to the zip, just sew over it, ensuring that the zip is pressed down flat in one direction (towards the lining or towards the outer fabric) and the fabric is lined up underneath (without one side pulled higher than the other).


Trim the corners off the pouch and lining material - this makes it less bulky after you turn the bag out.


Turn the pouch right-side out, through the gap in the bottom of the lining.  Check the pouch looks sewn correctly from the outside, then when you're happy with it sew up the gap in the lining by pinching the fabric together and top stitching along the gap (the stitching will be visible, but inside the pouch).


And that's it!  After writing that I feel like it's more complicated to explain than to make!  Try it and you'll get the hang of it after a few times.  Happy crafting!


Friday, 23 August 2013

lena corwin

One of the most inspirational and useful books I've read about handmade printmaking is "Printing by Hand" by Lena Corwin.


It's got very clear instructions and photos of stamping, stencilling and screen printing - all of which you can do without specialist equipment, following her instructions.  And lovely projects to demonstrate their use.

The book is from the US, so some of the materials are not as commonly found here in the UK - acrylic mounts to stick cut-out pieces of foam on to make a printing stamp, for example.  But it's still a really useful guide, and I have got people to mount cut-out foam on cardboard and brush on pva glue to make it more waterproof in some classes I've taught.

I just looked at her website again recently, and was excited to see that she will have a new book out in October called "Made by Hand" which promises "A collection of Projects to Print, Sew, Weave, Dye, Knit or Otherwise Create."  - That sounds great, I love trying out new projects and frequently do, as I teach community arts and crafts classes - not just about printmaking, but using various crafts, so I'm often looking for new ideas for my classes.

Anyway - I recommend her printmaking book to anyone starting out or developing their print projects at home.

Sunday, 14 July 2013

spider t-shirt

I printed this t-shirt as a gift for my husband for our wedding anniversary!


I drew my design onto the screen and painted it with screen drawing fluid then squeegee'd screen filler over the dried drawing fluid.  Left that to dry then washed out the drawing fluid, creating the stencil.


I practised printing it on a scrap piece of fabric, then printed it onto a t-shirt.  I used dark brown pigment and opaque binder, from Quality Colours (I mixed a bit of red, yellow and white pigment in too, to alter the brown colour a bit).  I put a piece of newspaper inside the t-shirt so the ink didn't go through to the back.


Saturday, 15 June 2013

yellow lichen print

I've been making a textile print called 'Yellow Lichen' for an exhibition with East London Printmakers at the end of this month.

The inspiration for this print came from a trip to the isle of Arran last year.  Here are some photos...


I made drawings of lichen, then I drew my lichen images onto two screens and filled in the drawn outlines, painting by hand with screen drawing fluid.  I let the drawing fluid dry then coated the screens with screen filler...


 After the screen filler was dry, I washed out the drawing fluid with a hose, and that created the stencil for my prints.


 After some test prints, I began printing my design on some heavy grey linen I had bought for this project.  You can see from the photos that the "kitchen table" aspect of this printing is quite difficult with a large length of cloth.  Apart from showing this print in an upcoming show by East London Printmakers' members, I want to use it for curtains in our living room, but I have to print quite small areas at one time on our dining table, so that I don't ruin the print by a wet area of print touching another part of the cloth.


 The East London Printmakers' group exhibition, 'Going Underground', will be on show in the Shoreditch Town Hall basement from 28th June.

Thursday, 11 April 2013

screenprinting using embroidery hoops as screens

Recently I taught a class on handmade printmaking for the Community Learning department at Morley College.  These are some photos of learners making hand-drawn screens, stretched on embroidery hoops, and then screenprinting them onto cushion covers...


Painting over the traced images using screen drawing fluid.  Screen mesh has been stretched in the embroidery hoops.

The "screens" coated with screen filler on top of the dried drawing fluid.  After the screen filler is dry, then drawing fluid can be washed out under a tap, to create a stencil for printing.


Printing the designs onto cushion covers, using textile inks and a small card like an old library card as a squeegee.


Cat stencil design in orange.


Floral design in blue.


Fish and flowers design in brown.

The learners did the printmaking very successfully, and made great printed cushion covers.

Wednesday, 23 January 2013

hand screenprinted box set edition 2012


I'm late to post this blog entry, as I actually made this print last October, but better late than never...

So, this is a screenprint with embroidery that I made to take part in East London Printmakers' 2012 Box Set edition.  I printed it at home in my garage...


First I painted some writing on the screen using screen drawing fluid.  It will be useful for anyone reading this to know my mistake at this stage - as in the photo above, I first painted it on the 'outside' of the screen, as I usually do when using drawing fluid and screen filler, because the screen filler sits slightly raised on the screen and is better on the non-ink side. But then I realised that of course the writing would come out backwards when I printed it (the screen sits upside-down compared to how it is in the photo).  So I painted it again on the inside of the screen.


I then coated the screen with screen filler and washed out the drawing fluid to leave the text 'stencil.'  And I set up to print in our garage, which you can see is not fully converted into a studio yet!


The screen is fixed into 2 clamps, which are screwed onto a wallpaper pasting table and I've 'registered' the print by printing it onto a piece of acetate, putting the piece of paper which I'll print onto underneath the acetate print in the right place, then putting pieces of masking tape at the corners of the paper so each subsequent piece of paper is in the same place and the print is in the same place on the paper.

After printing the text layer, I then cut out a paper stencil for the yellow body image and printed that on top of each piece of paper.

50 pieces of paper later (more than my clothes horse and clothes pegs could hold at a time!) I was finished the printing part of this image.  Then I poked holes into the paper with an etching needle and sewed red embroidery thread to complete my design.


It's called 'Body Scan', after this meditation-type practice which I feel anchors me to the ground sometimes.

It is part of a Box Set, which East London Printmakers produce every year, where members of the studio make multiple prints then each participant gets a box with one of everyone's prints in it. Also some boxes are spare for the studio to exhibit or archive.