Saturday 28 January 2012

button purse

I made a simple button-fastening purse, using my shell block-printed fabric.


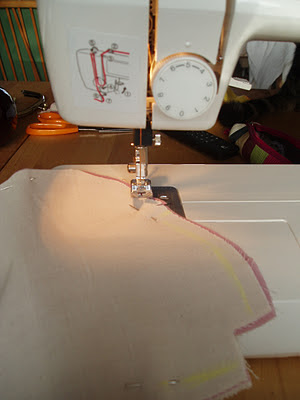
First I cut out 3 pieces of fabric - for the purse, the lining and the button catcher.  Then I sewed the bottom of the fabric and lining together and pinned the button catcher upside down on the top of the right side of the outer fabric.


I folded the bottom of the fabric to the height that I wanted the purse to be (the top with the button catcher pinned on it will be the flap), then folded the bottom of this fabric into an M-shape, with the lining on top of it, to make the purse wider at the base.  Then I folded the lining fabric on top again, up to the button catcher and sewed it all on 3 sides, leaving a gap to turn it inside-out.


I turned it inside-out and top stitched across the gap, and finally added a button by hand.


Thanks to http://www.liaspace.com/2010/
05/tutorial-simple-lined-pouch.html whose online tutorial I adapted the instructions from.

Wednesday 18 January 2012

Kiran Ravilious

While surfing the internet recently, enjoying looking at hand printed textiles, I came across the inspiring artwork and blog of Kiran Ravilious.

I think it's not allowed to reproduce people's online photos without permission, so I can't show her work here, you'll have to visit her blog: http://blog.kiranravilious.com

Kiran hand prints lino blocks onto textiles and sells cushion covers, bags, children's clothes etc. on Etsy.  The lino blocks are beautifully carved designs which seem to take inspiration from organic forms.  I also like her post about her studio in a lovely shed in her garden.  Check it out!  As I mentioned - very inspiring!

Thursday 12 January 2012

clasp pouch

Well, I finally got around to making a finished clasp pouch, as I learned on the bag-making course at Morley College last autumn (I made a couple during the course but hadn't quite got it right until the end and didn't have time to finish off the final pouch until now).  I had the pattern pieces for 3 bags, and now have finished one completely...


First I cut out the pattern and marked on it where I was going to sew, using the clasp to check where to stop sewing the base of the bag together.


I also sewed the lining and a piece of calico together (the lining is a thin muslin so I backed it with some calico)...


... and mitred the corners of the lining and bag material.


Here's the finished pouch.  It's about 6 inches wide.  Aside from help in the bag-making course at Morley, I also followed the guidelines of this great online tutorial to make the bag:

I haven't included full details here of how I made this clasp pouch, but if you go to that tutorial, it has great guidelines.